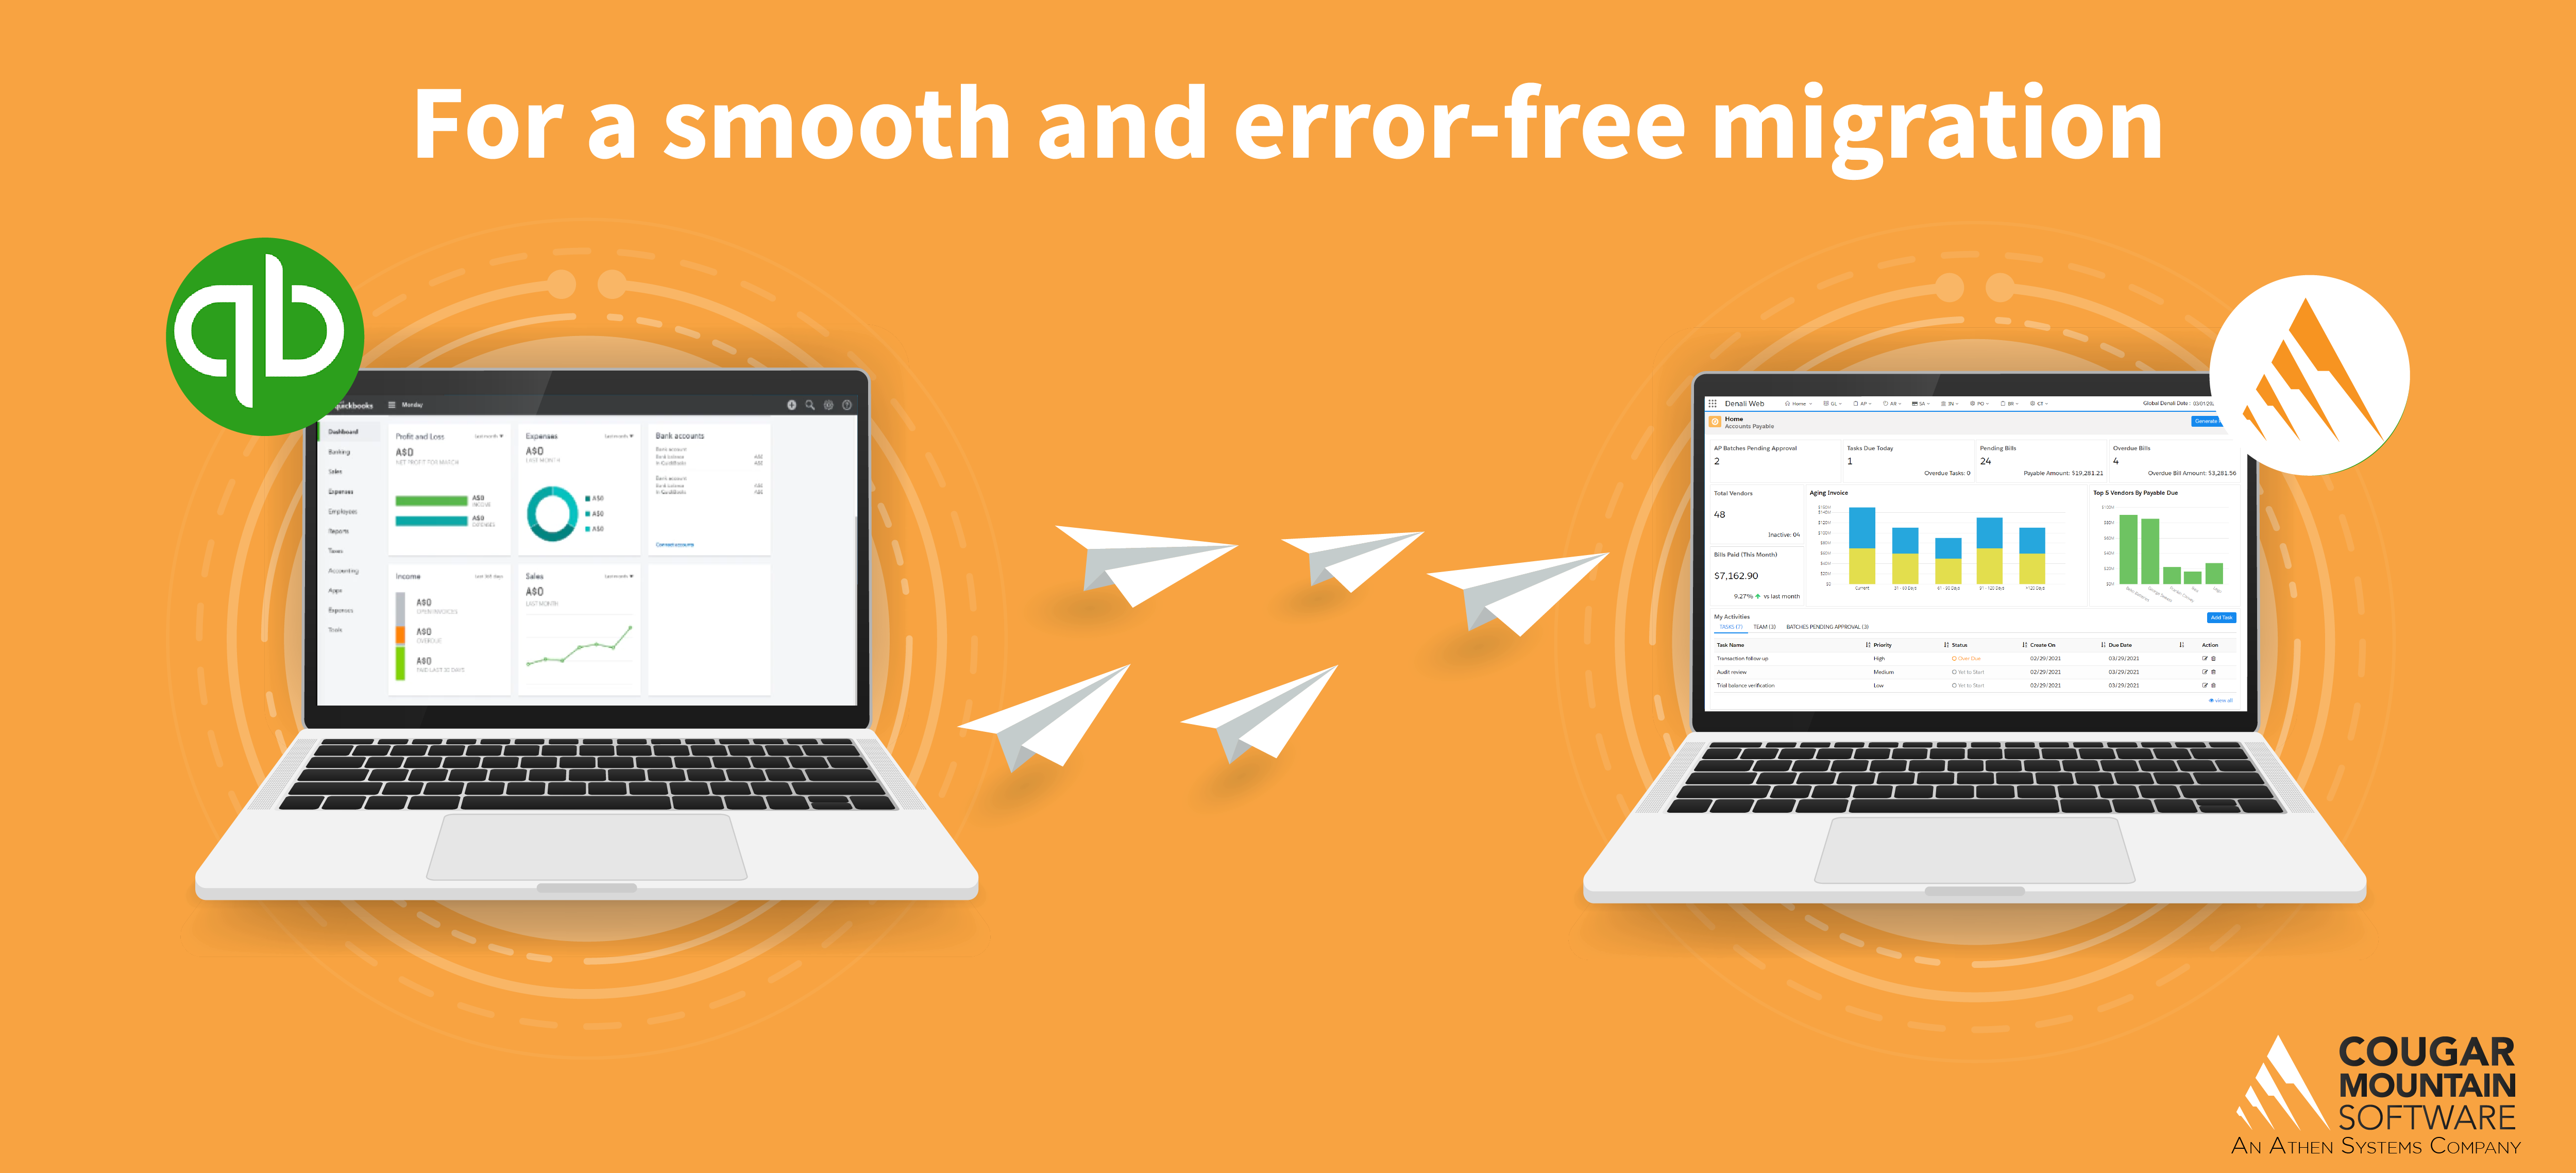
Quickbooks to Denali: How to Choose the Right Migration Path for Your Business

Migrating your data from QuickBooks to Denali can be a significant step in streamlining your financial processes. To make the most of your Denali migration, consider the following steps:
Plan and prepare: Before starting the migration process, take the time to plan and prepare. Evaluate your current data and identify what needs to be migrated from QuickBooks. Clean up your data by removing any duplicates, errors, or outdated information. Ensure that you have a backup of your existing data as a precautionary measure.
Choose the right migration method: Denali offers various migration methods depending on your specific needs. You can manually enter data, import data using Excel or CSV files, or use specialized migration tools. Assess your requirements, data volume, and expertise to select the most suitable migration method.
Familiarize yourself with Denali: Get acquainted with the features and functionality of Denali before starting the migration process. Take advantage of training resources such as tutorials, webinars, and online documentation. Understanding the software will help you navigate the migration process more effectively.
Configure Denali settings: Set up your Denali company file with the appropriate preferences and configurations. Customize your chart of accounts, set up bank feeds, and configure tax settings to align with your business requirements. Taking the time to properly configure Denali will save you effort and confusion later on.
Cleanse and transform data: If you are migrating data from an existing system, you may need to cleanse and transform it to match Denali’s data structure. Ensure that the data is formatted correctly, and make any necessary adjustments to accommodate Denali’s data requirements. This step is crucial for accurate and meaningful migration.
Migrate in stages: To minimize the risk of errors and disruptions, consider migrating your data in stages. Start with essential data such as customer and vendor information, chart of accounts, and open balances. Gradually add more data, such as historical transactions, invoices, and purchase orders, ensuring each stage is verified and reconciled before proceeding to the next.
Verify and reconcile: After each migration stage, thoroughly verify the accuracy of the migrated data. Reconcile your accounts to ensure the balances match your previous records. Pay close attention to critical financial information, such as bank balances, outstanding invoices, and open purchase orders. This step will help identify any discrepancies or data integrity issues early on.
Train and support your team: Once the migration is complete, provide training and support to your team members who will be using Denali. Offer workshops, user guides, or access to Denali support resources to help them become proficient in utilizing the software. This will enhance productivity and ensure everyone can make the most of Denali’s features.
Evaluate and optimize: Regularly evaluate your Denali implementation and assess whether it meets your evolving business needs. Identify areas for optimization and improvement. Consider leveraging additional Denali features, integrations, or add-ons to further enhance your financial processes and reporting capabilities.
Seek professional assistance if needed: If you find the migration process overwhelming or lack the necessary expertise, consider seeking assistance from professional consultants or Denali experts. They can guide you through the migration process, address any challenges, and provide tailored solutions for your business.
Remember, a successful Denali migration requires careful planning, attention to detail, and ongoing support. By following these steps, you can make the most of your QuickBooks to Denali migration and leverage its benefits to streamline your financial operations.
